I first learned about engineering prints when I saw a really cool and unique black and white photo of a local river in a black frame on my friend’s wall. It was huge and looked amazing in her foyer.

When I asked about it, she said it was a DIY wall art project that she had made using an engineering print. Did she say DIY? 🙂
Before we get to that, let’s take a quick look at what engineering prints are and where you can get them.
What are engineering prints?
An engineering print is a style of print that you can get from many office supplies stores or print shops. They are traditionally black and white prints and they look a bit like a huge photocopy.

They aren’t meant to provide you with a crisp graphic in a glossy finish. Rather, they will appear slightly grainy, but I think their imperfect look is what makes them unique. Let’s be honest, it’s also what makes them super cheap and perfect for large size DIY wall art on a budget.
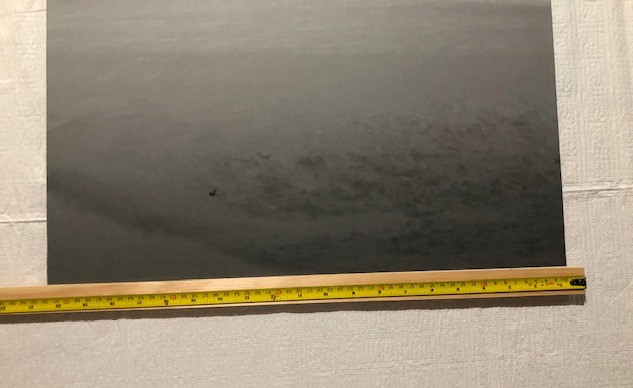
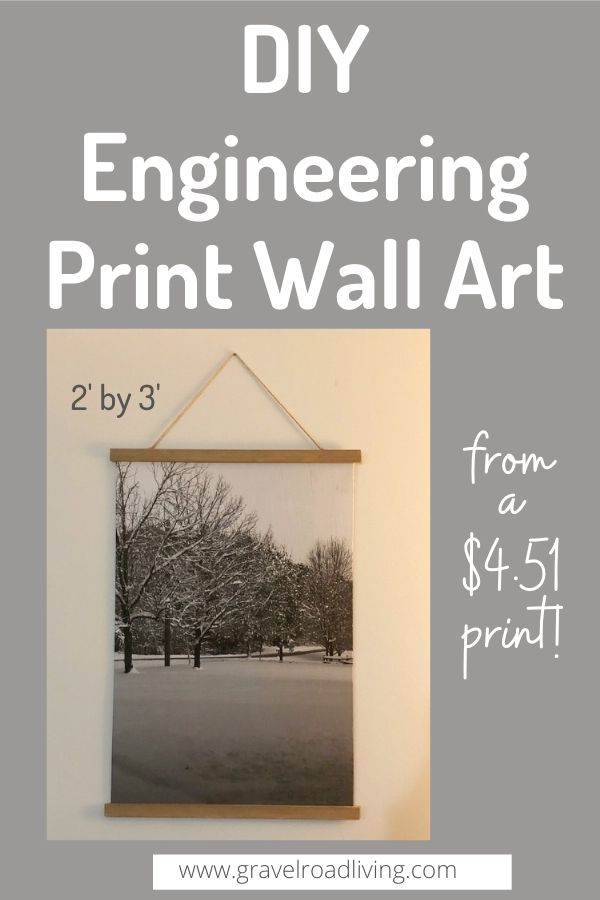
For example, the print in this post is 2 feet by 3 feet and it cost $4.51!
Tip: I find engineering prints look best when you have a large amount of white space in your photograph.
As well, I think they are perfect if you are drawn to a modern, minimalist or rustic style. The black and white print style looks modern and minimalist in a black frame. Alternatively, if you create a hanging print like the one I’m demonstrating in this DIY, the wood frame and jute cord give the print a rustic look.
Regardless, they are both pretty and unique!
Where can you buy engineering prints?
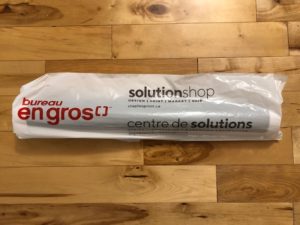
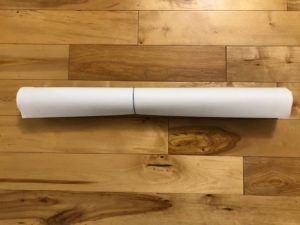
I have ordered my engineering prints from Staples and I’ve been pleased with the appearance of them. They come rolled up and in a bag. I usually lay them flat for a day or two before working with them.
How to DIY an Engineering Print Wall Art
Supplies Needed
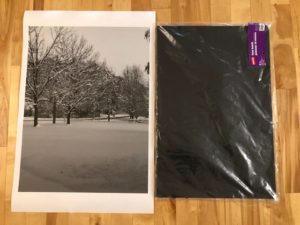
Engineering print (I like the 24 inch by 36 inch size)
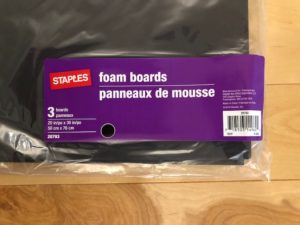
Foam poster board (20 inches by 30 inches is a standard size and it’s perfect because the print needs to be bigger than the board)
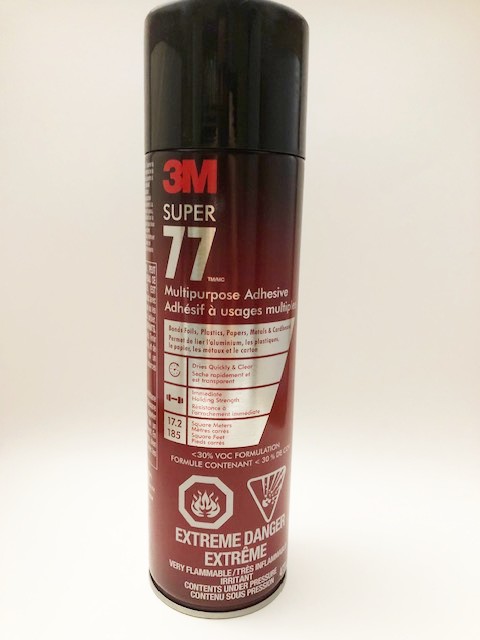
Spray adhesive
Flat edge (a credit card or similar hard, flat edge to help smooth print down)
Trim (2 pieces, cut to size)
Stain or paint (optional)
Staple gun (use 3/8″ staples)
Hanging hardware
Jute cord
5 Steps to Create DIY Engineering Print Wall Art
Step 1 – Glue engineering print to board.
This is the trickiest part of this DIY. The reason for this is that you want the print to glue down smoothly and wrinkle free. Here are a few tips to help ensure that this is a success
Tip 1: Make sure you pick a piece of foam board that doesn’t have any dents, wrinkles or bendy parts as they may show through the print.
Tip 2: Use a high quality brand of spray glue. Trust me, I learned this the hard way! My first go at this a number of years ago was a #PinterestFail because the glue didn’t work well and my print was really bubbly and not at all smooth. Having a high quality spray glue makes a huge difference. I’ve had good success with 3M Super 77 Multipurpose Adhesive and I purchased it from Home Depot.
Tip 3: Use a credit card or similar hard edge to smooth down the print as you work.
Tip 4: Spray the glue evenly yet lightly. If you miss a section, the print won’t stick down and it will show. If you spray too much, it will make the print look wet. I spray a section, wait about 25 seconds, and then smooth down the print.
So keep these tips in mind and here we go!
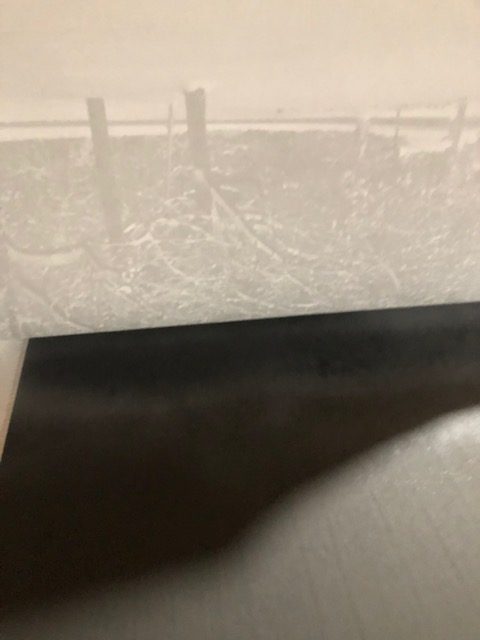
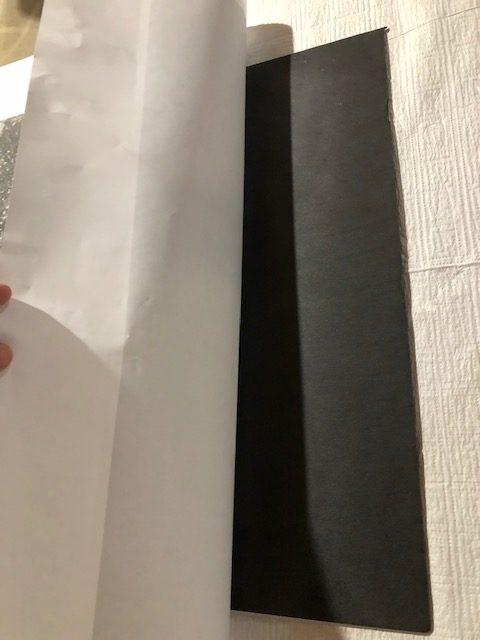
Start by spraying the top of the foam board with the glue and carefully adhere only the top of the print to begin. After the print is in good position, you can then continue to glue down the rest of it.
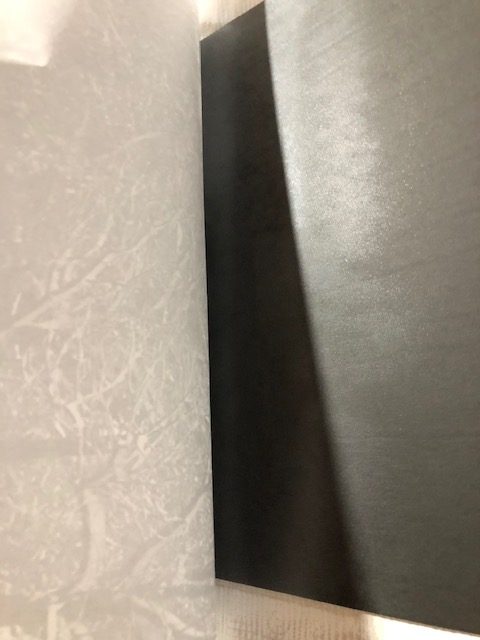
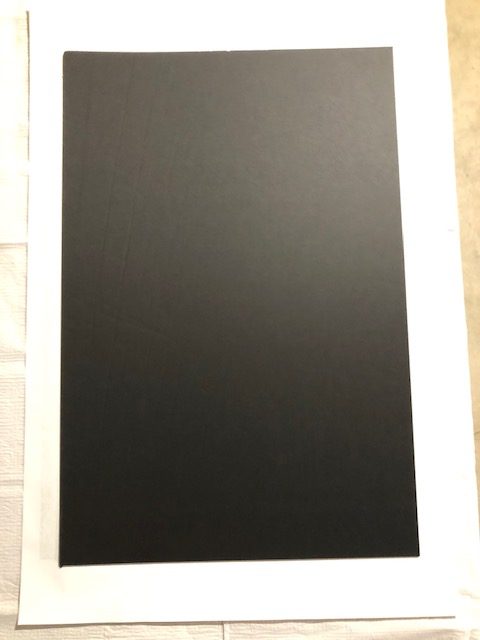
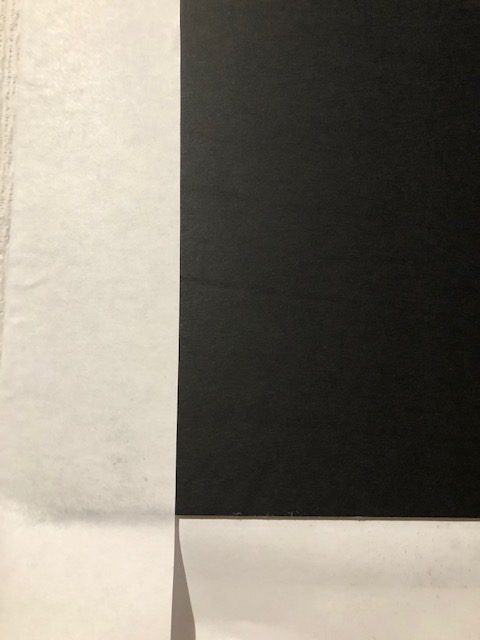
Spray one section of the foam board at a time from top to bottom while smoothing out the print as you go with your hard edge. Work out any wrinkles or bubbles!
Once the photo is glued to the board, you can turn it over and then glue the overhang to the back of the board.
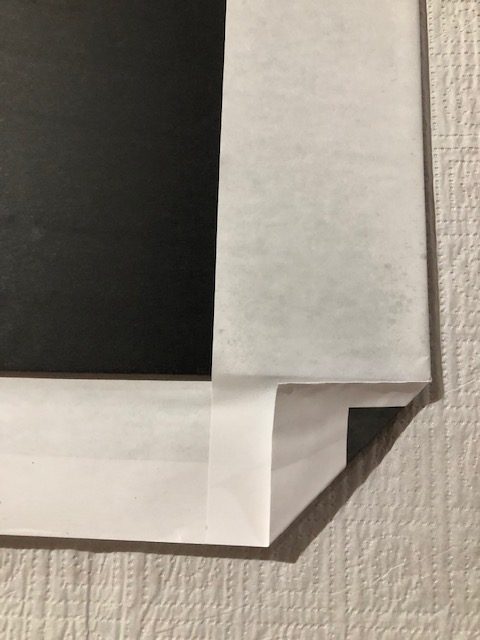
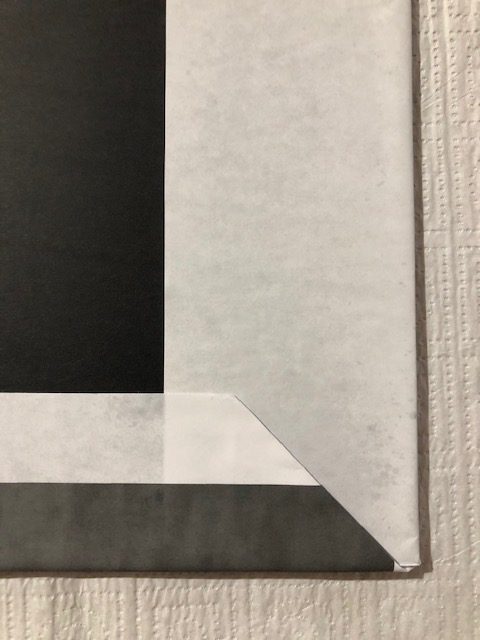
Because you won’t see the back, you don’t have to worry about being too careful with how much glue you use and how neatly the print is glued down. Create neat corners as you would when wrapping a gift.
Step 2 – Prepare and attach trim.
Next, cut two pieces of trim so that they are approx. 1 inch longer than the width of the picture to use as the frame. This will allow for a 1/2 inch overhang on each end.
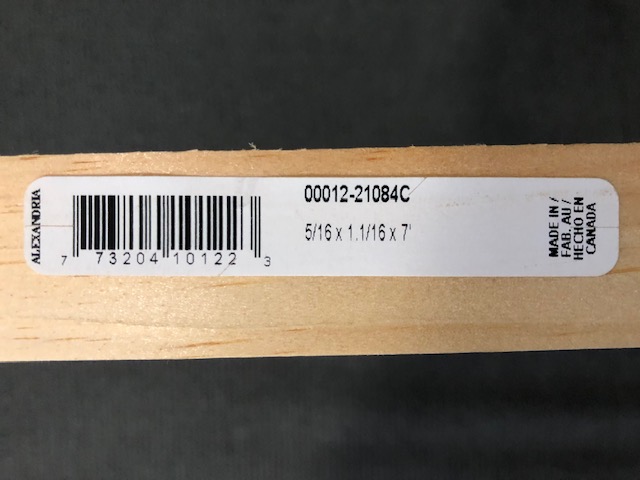
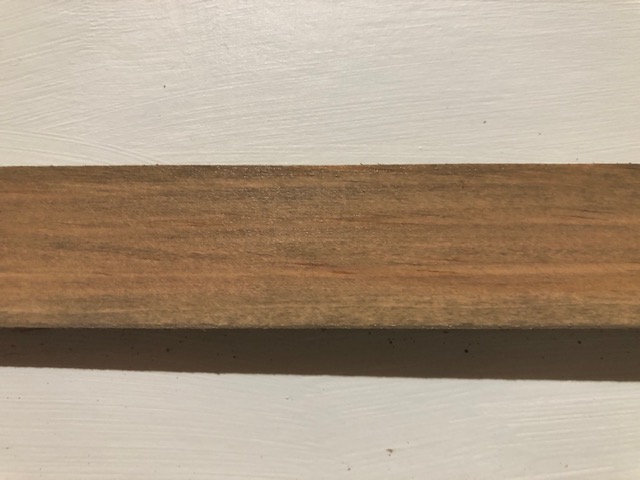
I used the thinnest piece of trim I could find at Home Depot and it’s perfect for this. It is approximately 1 inch wide and 5/16 inches thick. I just used a small saw to cut them and it took minutes.
You can leave the wood trim as is, or you can stain or paint it.
I chose to use some chalk paint and created a bit of a wash look because it gives a similar look to staining but it is much faster, easier and less messy. Just get your paint brush a bit wet and then lightly paint the trim pieces
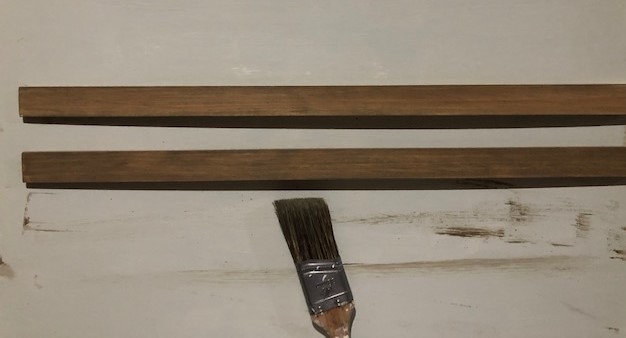
I have a little pot of chalk paint that is the perfect shade of brown (with grey undertone) and I’ve used it frequently for my smaller projects when I don’t want to be bothered with stain. It is Van Gogh brand and is called Rolling Stone.
It has come in handy many times as it’s actually a perfect match for this Home Depot driftwood brown accent wood that I used to make floating shelves and that we also used for the faux beams in our sunroom.
To finish the trim, use a staple gun to staple the trim to the print – one piece at the top and one at the bottom.
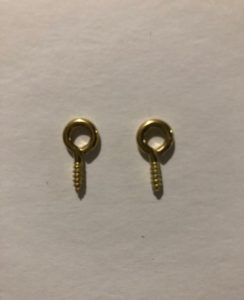
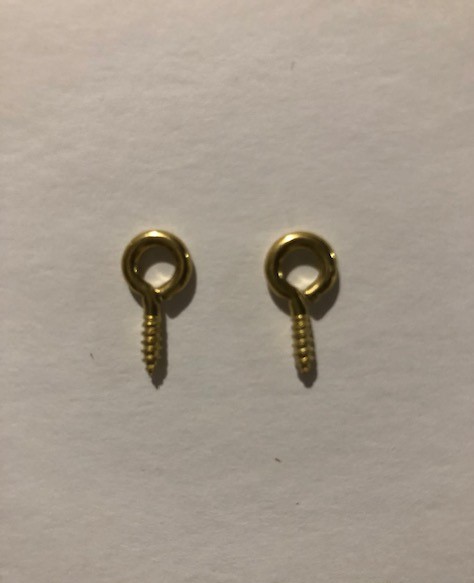
Step 3 – Attach hanging hardware.
Attach this simple hardware to the piece of trip at the top of the print. I attach it in between the foam board and trim and twist it into the back of the trim on an angle.
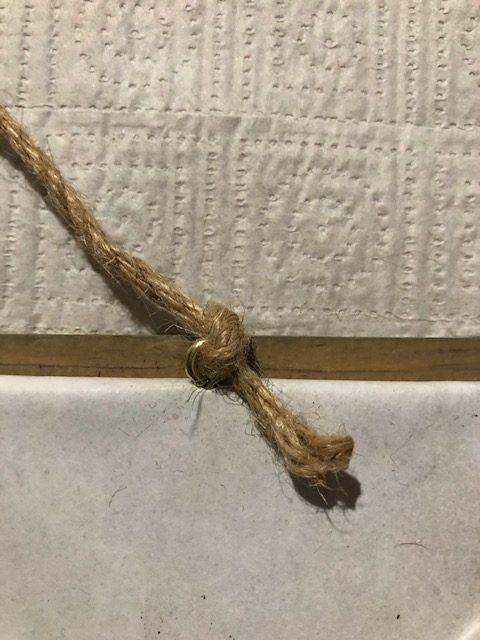
Step 4 – Attach jute cord.
Use the hardware to attach the jute cord to the print. The print is super lightweight so this is all you need to hang it up!
Step 5 – Hang your personal and unique print.
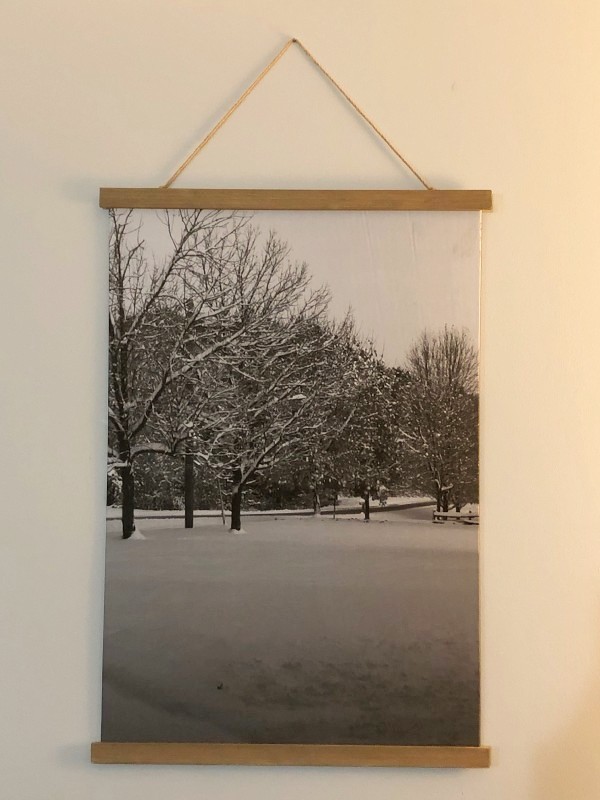
The example here is a picture of our front yard that I took in the winter after a snow storm. I also have another print of my kids climbing a ladder in a barn but they don’t want me to share it here. 🙂
Conclusion
Engineering Print Wall Art is a great way to choose a picture you love and make something that is personal and unique to have in your home.
It is also a thoughtful gift idea for a family member or friend, and best of all, it can be made from a $4.51 print and done in one afternoon!
KJ 🙂
Related Posts:
LOVE!!
Thank you!